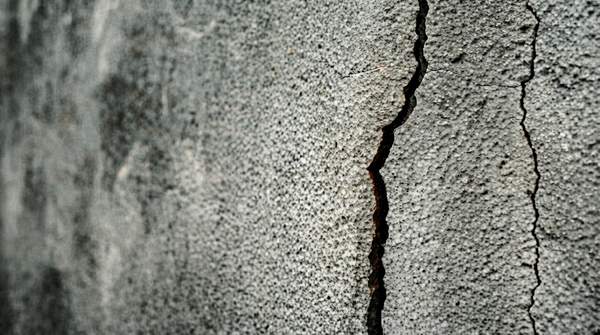
Most foundation cracks are not emergencies, but a few are, and you can make a reliable first call yourself by looking at three things: the crack's shape, its width, and whether the rest of your house is showing signs of movement. Hairline vertical cracks in a newer poured foundation are usually cosmetic shrinkage marks. Horizontal cracks, stair-step cracks in block walls, cracks wider than about 1/4 inch, or any crack paired with sticking doors, uneven floors, or bowing walls warrant a structural engineer's evaluation. This guide walks you through the assessment step by step, then gives you a decision framework that sorts your crack into one of three actions: monitor, seal and monitor, or call a professional.
Understanding Foundation Cracks: Cosmetic vs. Structural
The first distinction to make is between cracks that formed once and stopped, and cracks that reflect forces still at work. Foundation repair guidance draws this line clearly: settlement cracks come from the house compressing soil in its first years — typically thin, vertical or slightly diagonal, and they stabilize over time. Structural cracks reflect ongoing forces such as water pressure, expansive clay, or erosion, and they grow or change shape.
Concrete itself is a common culprit for harmless cracks. Basement walls can develop small cosmetic cracks simply from the natural curing process, and hairline cracks often appear within the first year as a new foundation settles and dries. Vertical cracks running straight up and down a poured foundation wall are generally considered less serious than horizontal ones and typically do not pose a structural threat on their own.
That "on their own" matters. Inspectors consistently note that a crack's width and progression are key indicators, and that even angled cracks don't always indicate a major structural problem — until they show up alongside other changes in the house. So your assessment should never stop at the crack itself.
Step-by-Step Assessment: Identifying Crack Characteristics
Start with a visual inspection and a few simple tools: a ruler or measuring tape, a bright flashlight, your phone's camera, and ideally an inexpensive crack gauge. Photograph the crack with a ruler in the frame so you have a dated record of its width and length.
Step 1: Identify the direction. Is the crack vertical, diagonal, horizontal, or stair-stepped along mortar joints in a block wall? Direction is your first severity signal — vertical is generally the least concerning, horizontal the most.
Step 2: Measure the width. One repair company offers a useful rule of thumb: a crack between 1 and 2 millimeters running vertically or diagonally may be non-structural. Cracks wider than 1/4 inch are widely treated as a threshold for professional evaluation. Note whether the crack is wider at one end than the other — uneven width can indicate differential movement.
Step 3: Check for change over time. A single measurement can't tell you whether a crack is active. Mark the ends of the crack with pencil and date them, or install a crack gauge across it, then recheck over weeks and months. A crack that is growing or changing shape is behaving like a structural crack regardless of how thin it started.